"On-Call" Shifts
This is the second post of the series. In the first post, we covered the creation of the RunBook that will be updating our Auto Attendant. In this post, we’ll be creating a simple “On-Call” shift for demonstration purposes. Shifts in Microsoft Teams is a schedule management tool that helps you to create, update, and manage schedules for your team. For more information on Shifts, official documentation is always a good place to start.
For our purposes, we’ll create a fictitious “Awesome Support” team with the “on-call” personnel.
| Member | Role |
|---|---|
| Lidia Holloway | Product Manager, Team manager |
| Johanna Lorenz | Senior Engineer, Team member |
| Henrietta Mueller | Developer, Team member |
| Gradie Archie | Designer, Team member |
LidiaH as a Team manager will create a new “Awesome Support” team and will invite the rest of the team members. Then LidiaH will install the Shifts app and create the “On-Call” schedule for all members.
1. Create a team
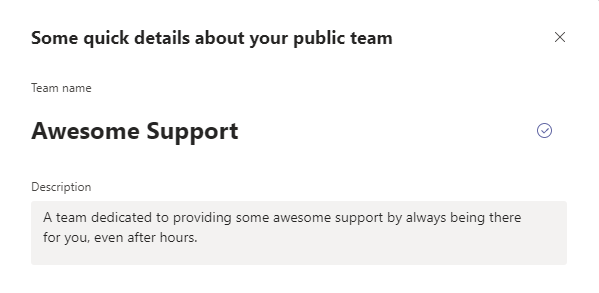
LidiaH is going to login into Teams client (Web client for the demo purposes) and create our “Awesome Support” team from scratch. For step-by-step instructions on how to create a Team, please check the official documentation
Creating the Team:
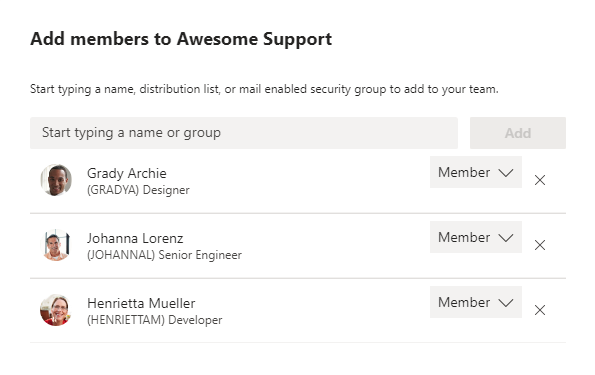
Adding members:
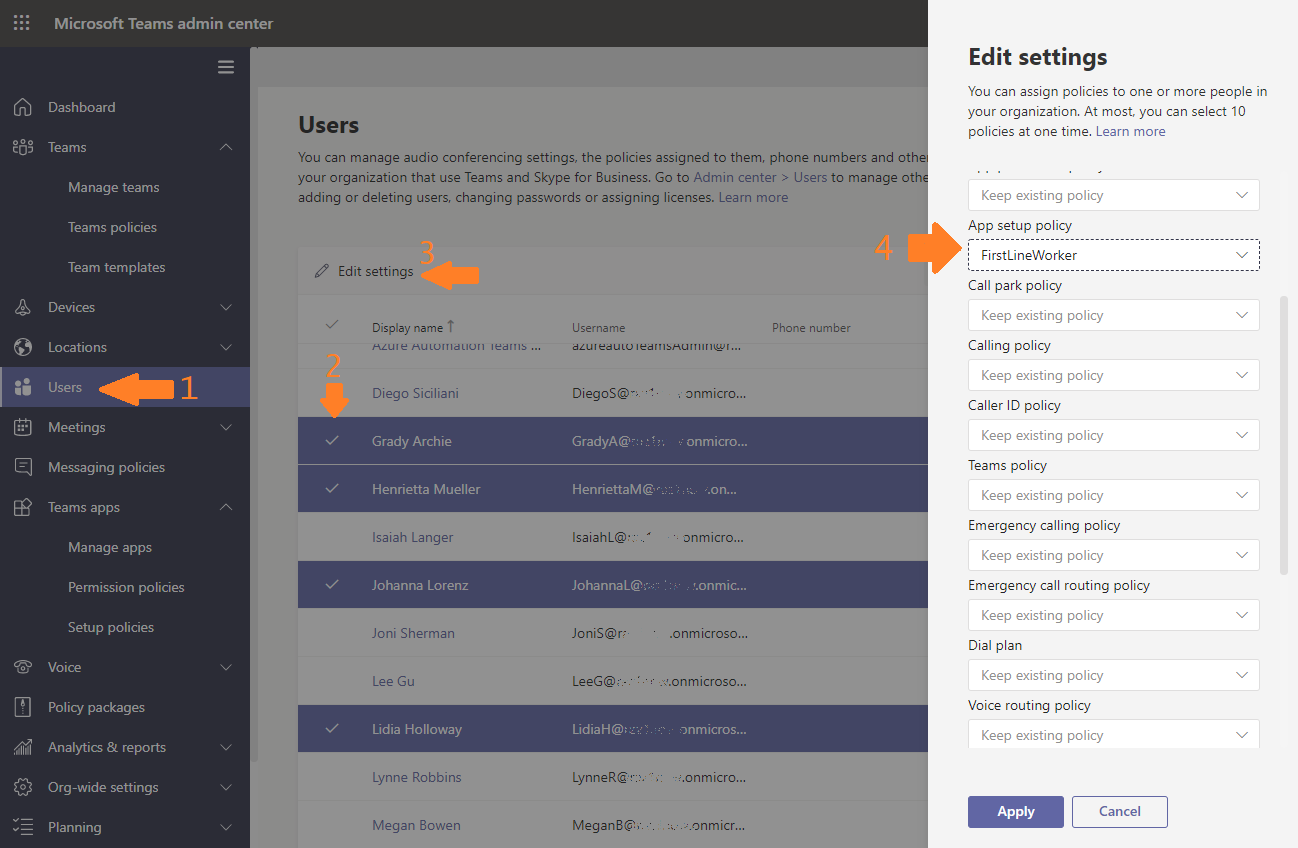
2. Assigning FirstLineWorker App setup policy
Next, we’ll assign the FirstLineWorker App setup policy to our users. This policy would install the Shifts Teams application and pin it for each of the users. In the Teams Admin Center
- navigate to Users tab
- select our members
- click Edit settings
- Select FirstLineWorker for the App setup policy
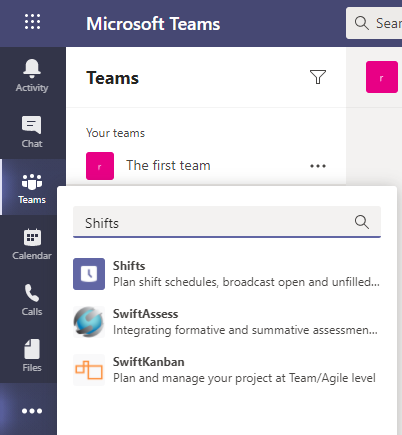
This would install the Shifts app and pin it for the selected members, e.g.
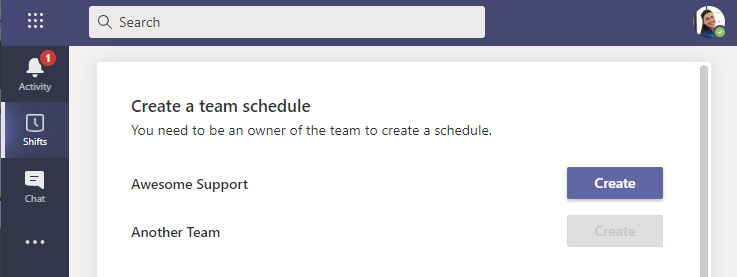 And since Lidia is the owner of the Awesome support team, she has the option to create the
Shifts schedule for that team. i.e. Only team owners can create shifts schedule and there’s
only one Shifts schedule per Team
And since Lidia is the owner of the Awesome support team, she has the option to create the
Shifts schedule for that team. i.e. Only team owners can create shifts schedule and there’s
only one Shifts schedule per Team
Alternatively, Lidia could manually install the Shifts app manually and pin it, but
then every member of the team would need to install the Shifts app, in case they would like to
interact with the Shifts schedule.
3. Create “On-Call” Shifts schedule
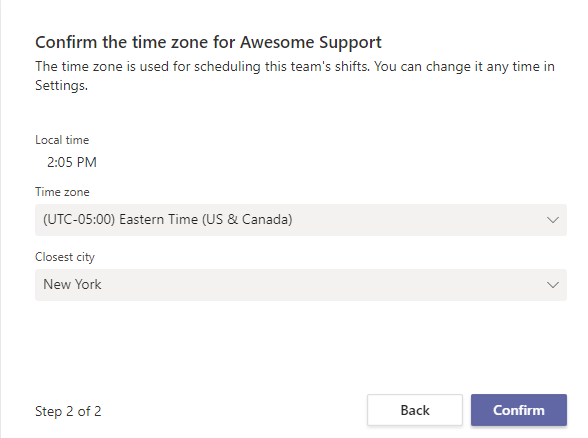
Now, Lidia is going to create the Shifts schedule and confirm the TimeZone, that could be
changed any time later in the settings:
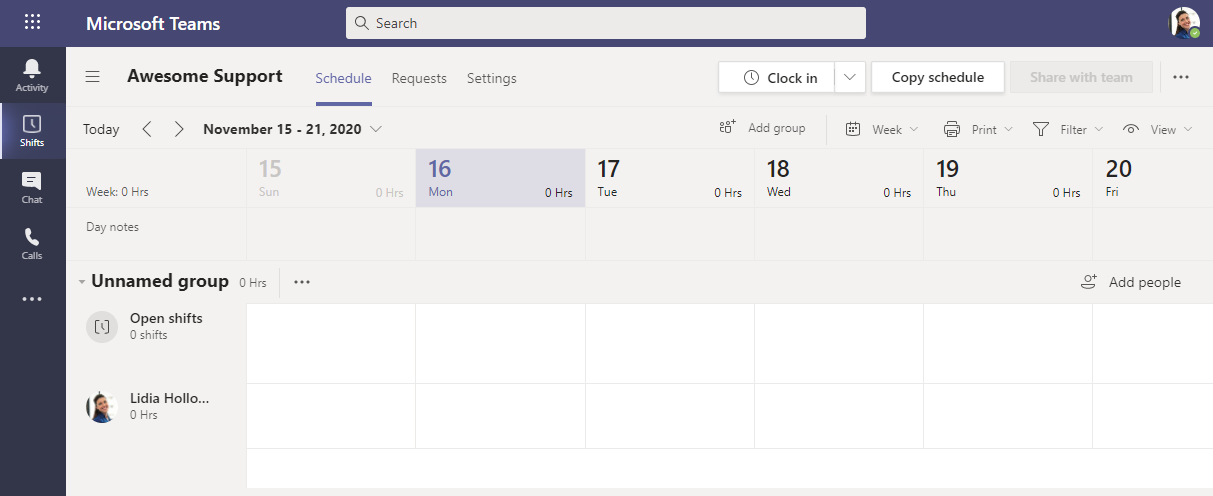
After that, the default schedule with an Unnamed group would be created, with Lidia being the
the only member of that group:
Let’s take care of a few things, like:
-
Rename the group to “On Call” group
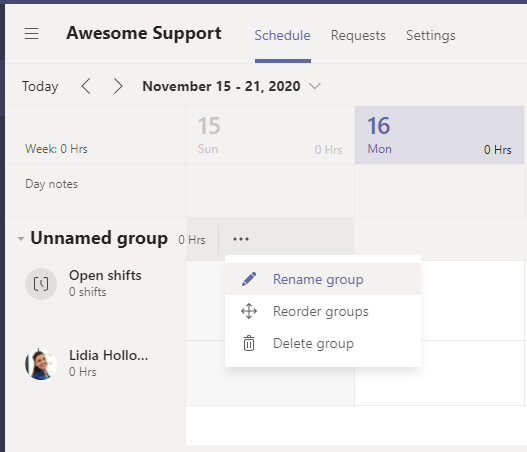
-
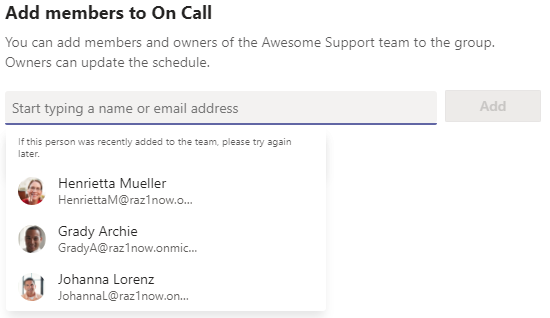
Add members to “On Call” group
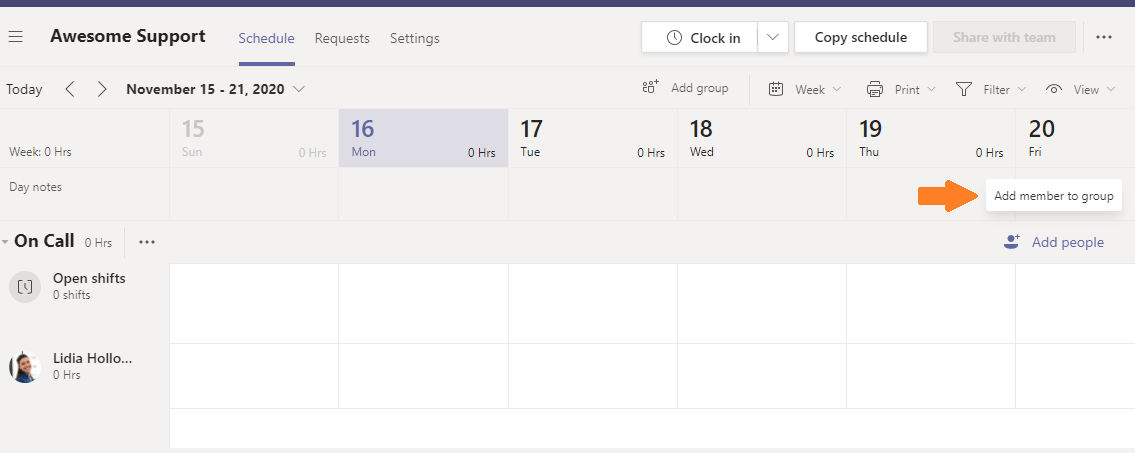
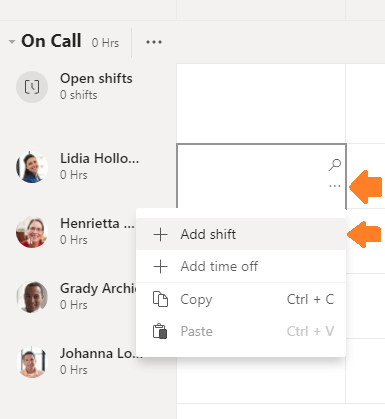
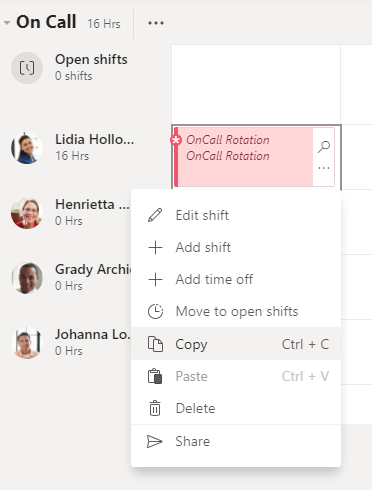
- Create “On Call” shift Select any cell, click the ellipsis (those three dots) and select Add Shift. Once next panel opens fill in the shift details, like start/end times, Color, Notes, and Optionally “Shift Activities”.
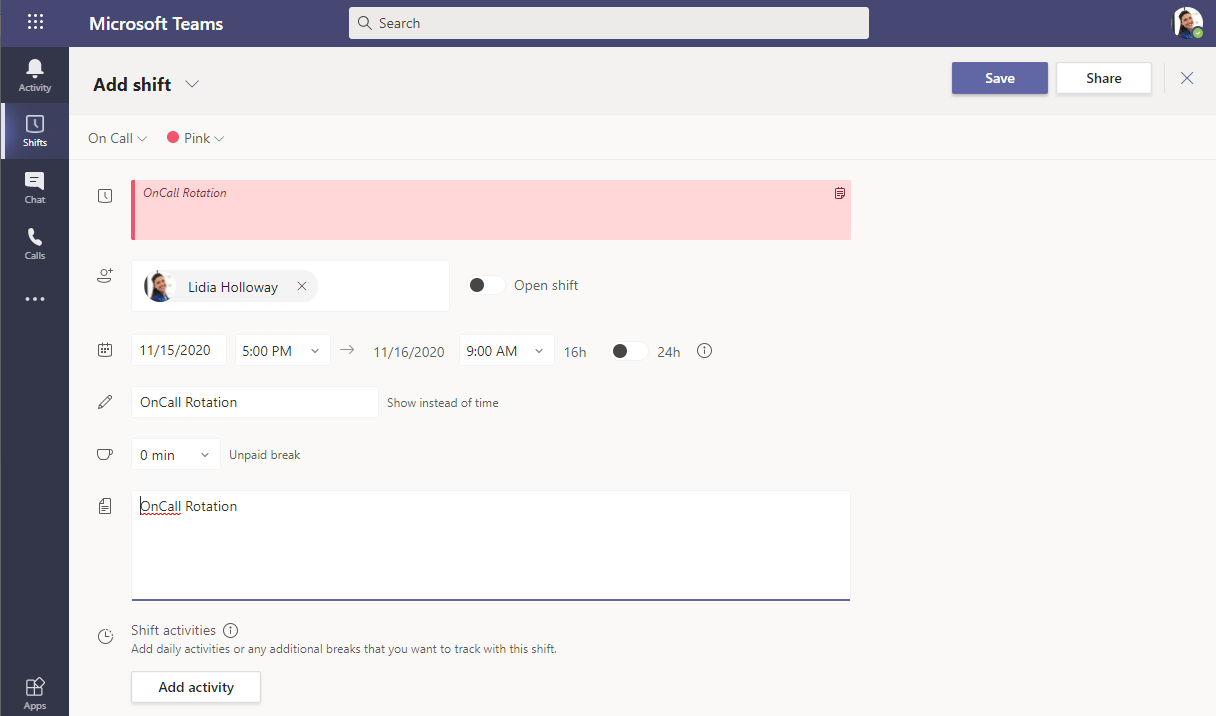
After all, details are in, click the Save button. Once the 1st shift is created and
save, we can just copy&paste the new shift and assign it to all other users:
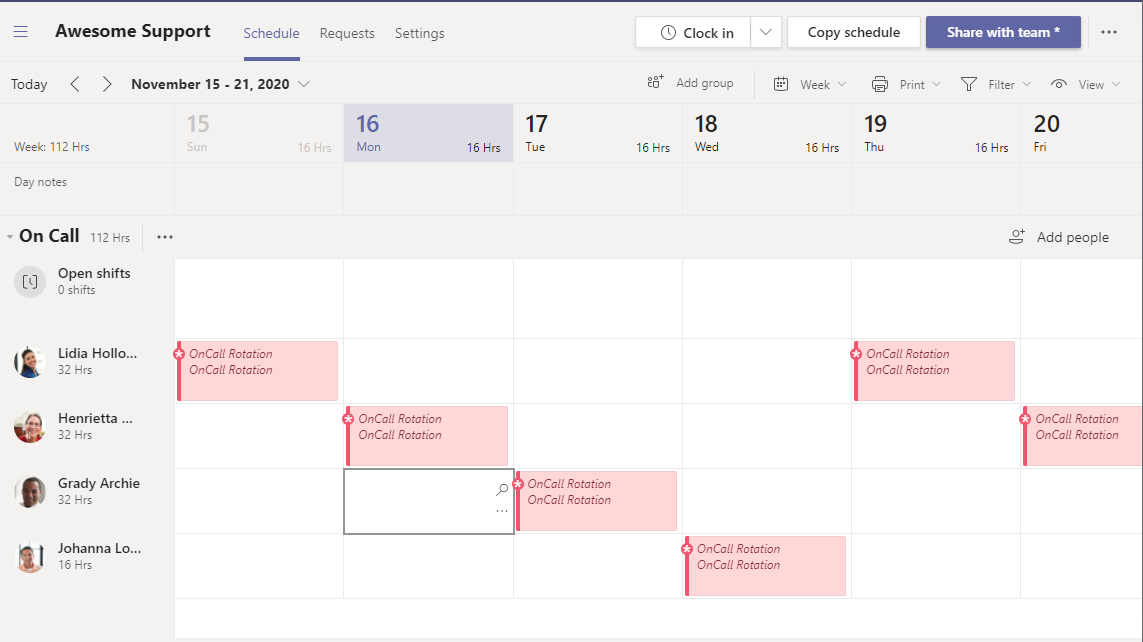
Hint: You can switch to Month view and copy&paste shift by an entire week or just use the Copy schedule dialog box.
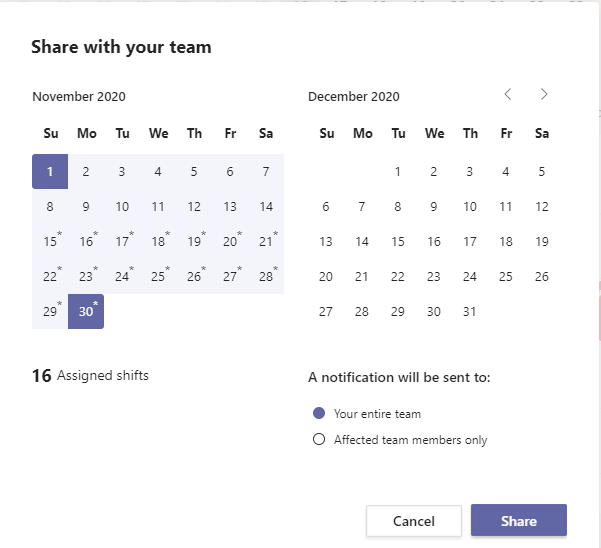
Once the schedule is all set, at least for a few days in advance, click the Share with team button
to publish the new schedule and share it with the team:
After a team owner publishes the Shifts schedule, it becomes available to the rest of the team,
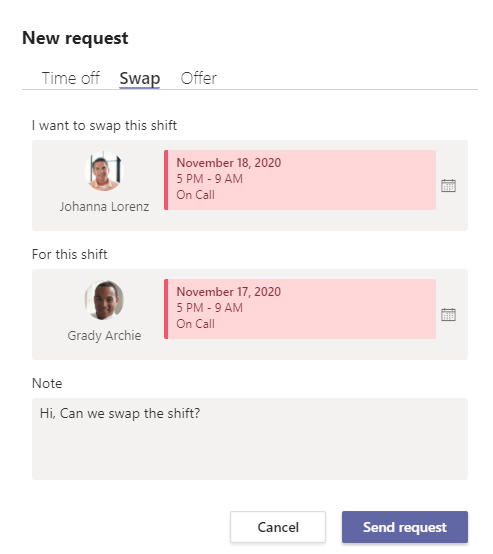
for example Johanna Lorenz can see on which day he’s “On Call”
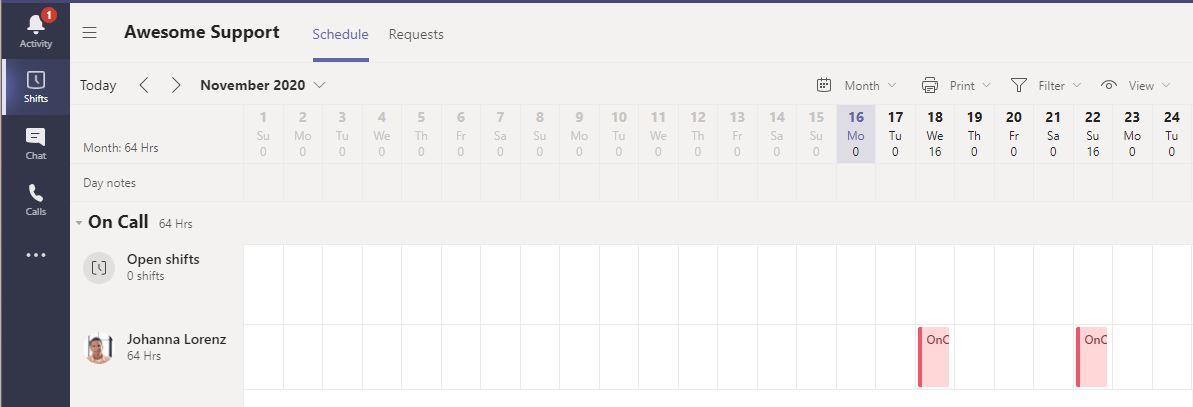
and if the need arises,
then he also could offer to “swap” the shift with any of his colleagues.
This concludes the 2nd post of the series and we’ll continue with the next post, explaining how the “Microsoft Flow” glues our Runbook and_Shifts schedule_.