"On-Call" call routing
Recently I was working with a customer on a Microsoft Phone System migration project, moving users from the existing phone system to “Microsoft 365 Phone System” and during the planning sessions, a use case popped up, which we’ve identified as an “On-Call Routing” use-case. In essence, the customer wanted some of the “on-call support” personnel to be reachable if there was a need for a critical issue to be resolved. Out of the box, such a feature is not available with Microsoft 365 Phone System and based on User Voice: Support on-call shifts some folks are also looking for similar functionality to be available natively in Microsoft Teams. And while my initial answer to this particular use case was a “not possible without a 3rd party software”, it got me thinking if there was any possible solution or a workaround to have a solution to the original request, and after a few errors and trials I came up with a solution, I thought was worth sharing, at least until Microsoft implements such a feature natively.
Solution
At a high-level overview there are three components to the proposed solution:
- Azure Automation runbook – a runbook to configure a cloud Auto Attendant with an “external” operator number
- Flow – A scheduled flow that looks up the “On-Call” shift and a user assigned to the shift. The flow then calls the Azure automation runbook, to update the Auto Attendant with On-Call users phone number
- Shifts – This seemed to be an obvious choice to keep track of the “On-Call Schedule”
In this post, I’m going to cover the configuration of the “Azure Automation runbook” and will cover the rest in the following posts.
The “Runbook”
The Azure automation runbook, in this case, is the “glue” between Microsoft Flow and Cloud Auto Attendant configuration and the only thing it has to do is to configure a given Auto Attendant with a given “External Operator” number. Under the hood, it is just a PowerShell the script, which accepts the following parameters:
Phone– a phone number to be configured as an external operatorAAId– a GUID of Auto Attendant to be updated with a new operator phone number
Then it connects to Teams Online admin service and performs modification of the auto-attendant.
Before you begin
Before you begin, make sure you have privileges to access the Azure portal and can create an Azure Automation Account in your organization. Please check about Azure Automation requirements and permissions
Azure Automation account provisioning
This would involve the following steps
- Create a service account – a dedicated admin account to run the PowerShell scripts. This account would be granted permissions to modify the Auto Attendant configuration
- Create an Azure Automation Account
- Add credentials for service account to Azure Automation Account
- Install PowerShell Module
- Create the runbook
1. Create a service account
This services account is a non-interactive account and is not tied to any particular user. Instead, it is granted Skype for Business admin privileges and should be excluded from MFA as per User Exclusion recommendations.
I’m not going to provide a “step-by-step” guide on how to create an Admin user, as there are plenty of guides available. For our needs create an account as follows:
| Field | Value |
|---|---|
| First Name | Azure Automation |
| Last Name | Teams Admin |
| Username | azureautoTeamsAdmin |
| Password | Create a strong password |
| Require this user to change their password on next login | ☐ Un-checked |
| Create user without product license | ☑ Checked |
| Roles | ☑ Admin Center AccessTeams Communication Admin |
2. Create an Azure Automation account
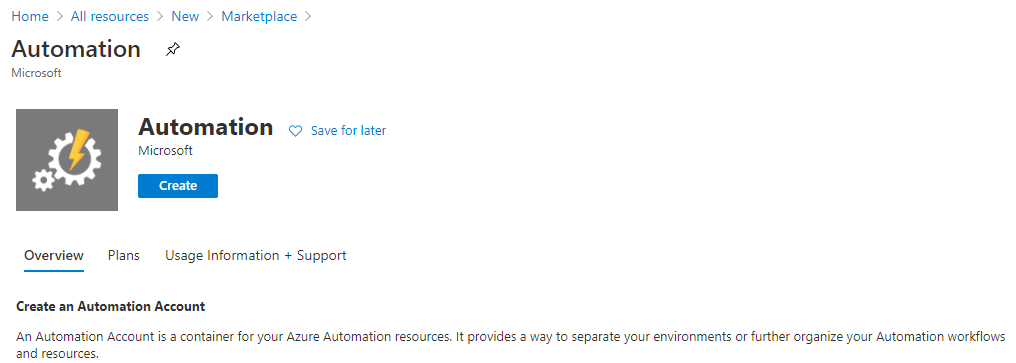
Navigate to Azure portal, Select All Resources and click Add
Search for Automation (Available under IT & Management tools) and click Create.
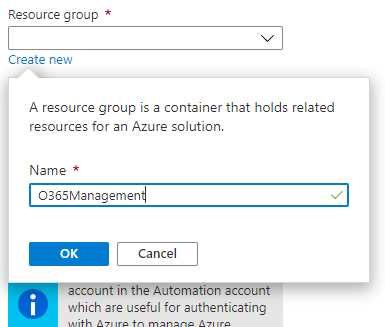
If you don’t have any existing Resource Group’s, you can create one while creating the account. Usually, I create
a specific resource group related to O365 automation tasks and processes.
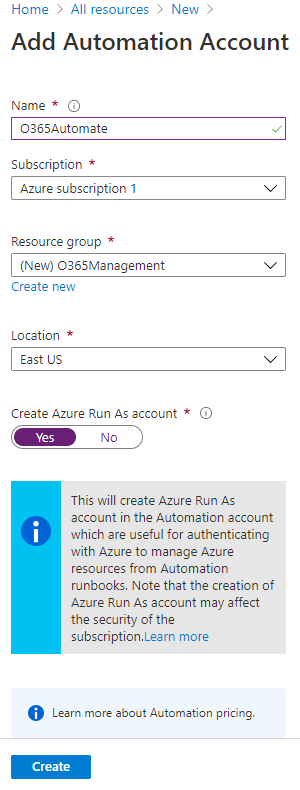
Create a new account with the following information:
| Field | Value |
|---|---|
| Name | O365Automate |
| Subscription | Azure subscription 1 – your Azure subscription |
| Resource Group | Create New -> O365Management |
| Create Azure Run As account | Yes |
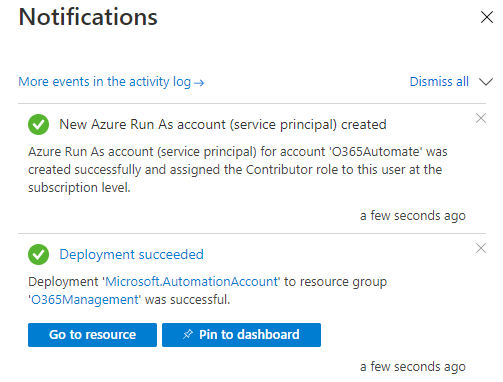
After you click the Create button, it is going to take a few moments for the operation to complete,
and if all successful you’ll get a couple of notification messages, like
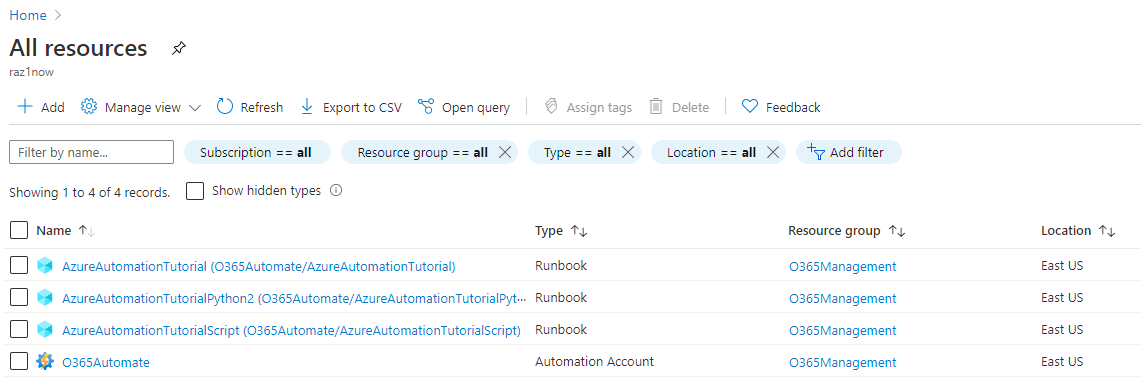
And once the provisioning is complete, you should see the Automation Account with a few default runbooks
under All resources (may need to refresh at least once)
Check Create an Azure Automation account for additional details.
3. Add Service Account credentials to Azure Automation account
In step #1 we’ve created a special service account which was granted Teams Communication Admin role. This is the service account that would establish a connection to Teams Online power shell and perform operations on the Auto Attendant.
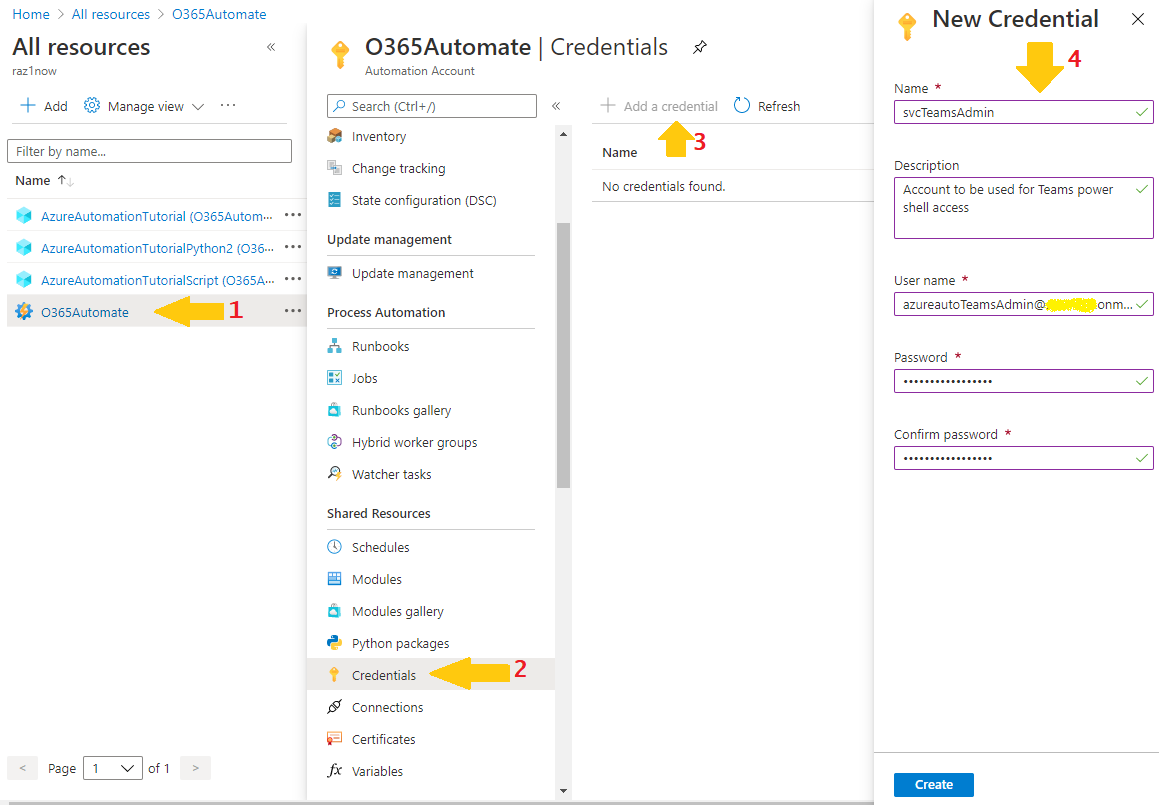
To add the service account to your Azure Automation account, open the Automation Account, navigate to the credentials tab, click on Add a credential, and complete the process. It is going to ask you the following information
Name– Can be any name, does not have to match the username of the Service AccountUser Name– Service Account User Principal NamePassword– Service Account passwordConfirm Password– Service Account password
4. Install PowerShell Module
Our runbook will be connecting to Teams Online PowerShell and therefore requires this module to be available. We’ll deploy the module directly to Azure Automation account
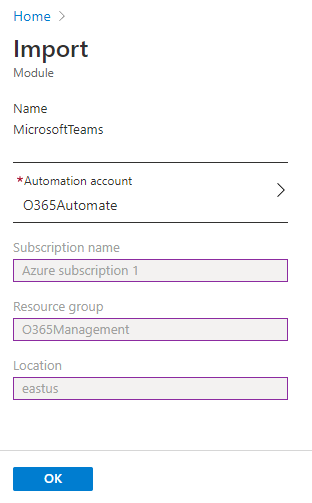
- Navigate to Microsoft Teams PowerShell PowerShell Gallery page.
- Select Azure Automation tab and click Deploy to Azure Automation button
- You’ll have to pick an Azure Automation account to deploy the Microsoft Teams PowerShell module. In our case, it’s O365Automate
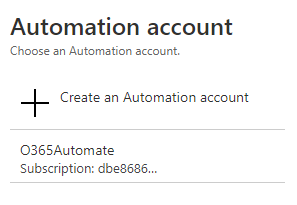
and should take a few moments to finish the deployment.
5. Create the Runbook
Runbooks are scripts that run in the cloud. Very similar to scripts you run on your local workstation or server. There are a few Azure Automation runbook types for our purposes, we’ll be creating a PowerShell runbook type, a text runbook based on Windows PowerShell scripting.
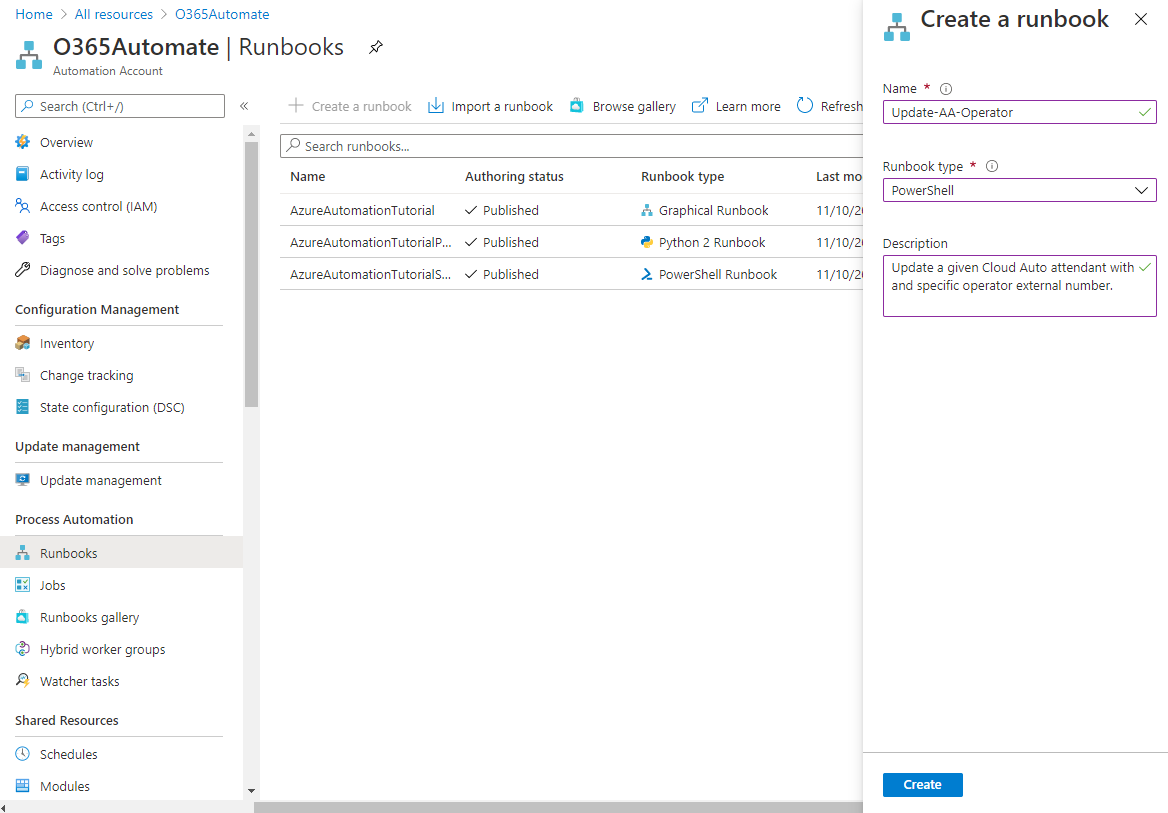
To create a Runbook, open your Azure Automation account, select Runbooks under Process Automation, and click Create a runbook. It is going to ask you the following information:
Name– Runbook name, e.g. Update-AA-OperatorRunbook type– we are creating a PowerShell runbookDescription– a brief description of this runbook
Once Runbook is created
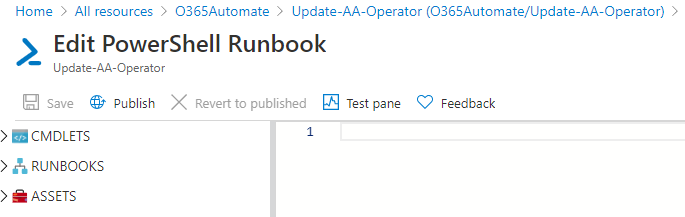
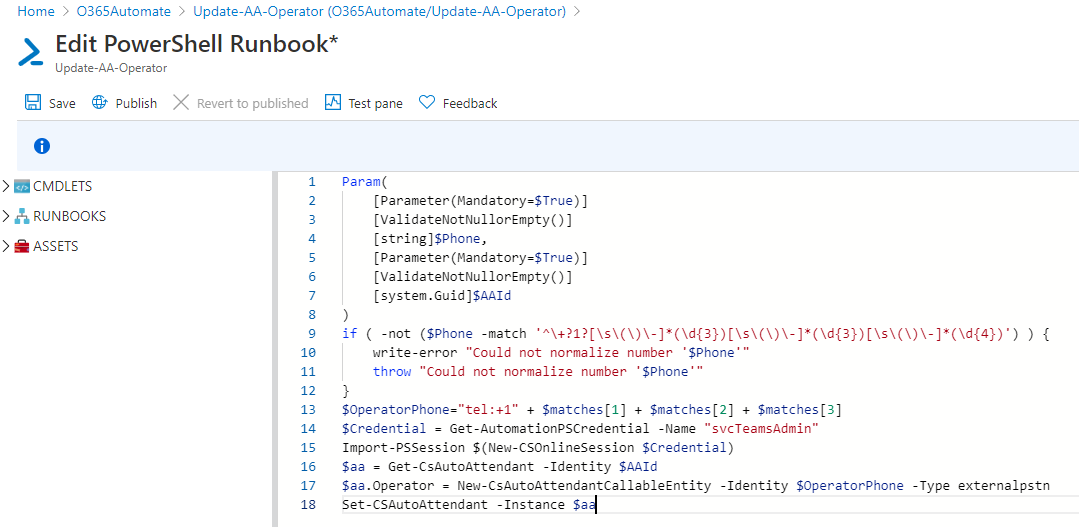
Edit it and paste the following PowerShell script
Param(
    [Parameter(Mandatory=$True)]
    [ValidateNotNullorEmpty()]
    [string]$Phone,
    [Parameter(Mandatory=$True)]
    [ValidateNotNullorEmpty()]
    [system.Guid]$AAId
)
if ( -not ($Phone -match '^\+?1?[\s\(\)\-]*(\d{3})[\s\(\)\-]*(\d{3})[\s\(\)\-]*(\d{4})') ) {
    write-error "Could not normalize number '$Phone'"
    throw "Could not normalize number '$Phone'"
}
$OperatorPhone="tel:+1" + $matches[1] + $matches[2] + $matches[3]
$Credential = Get-AutomationPSCredential -Name "svcTeamsAdmin"
Import-PSSession $(New-CSOnlineSession -Credential $Credential)
$aa = Get-CsAutoAttendant -Identity $AAId
$aa.Operator = New-CsAutoAttendantCallableEntity -Identity $OperatorPhone -Type externalpstn
Set-CSAutoAttendant -Instance $aa
after entering the script section, Save and Publish it
For more details about the Runbooks visit Manage Runbooks
So now we have a Runbook which is a PowerShell script to modify the Operator property of an existing Auto Attendant and set it to an external number.
One thing I need to call out is the “regular expression” on line 9, it tries to match the 10/11 digit numbers in North America numbering plan. You may need to modify lines 9 and 13 if you are not using NANP numbers.
Testing the Runbook
To test the runbook we need to know a GUID of a Cloud Auto Attendant we can use for our testing
and therefore we need to have a test Auto Attendant. Since this post is already longer than
I anticipated originally, I’ll pretend there’s an Auto Attendant in my tenant and will skip
the process of AA configuration, but will show you how to find the GUID of the attendant, as we would
need it later anyway.
Obtaining Auto Attendant ID
To find the Auto Attendant GUID the hard correct way, perform the following steps:
- Establish a remote PowerShell session
- Run the following PowerShell one-liner:
Get-CsAutoAttendant | ft Name,id
You should get a table of AutoAttendants names and their corresponding Id’s. In my case I get:

and apparently I’m allowed to use the AutoAttendand with 50892a0d-f5c5-4194-abc0-de39eec78d96 Id
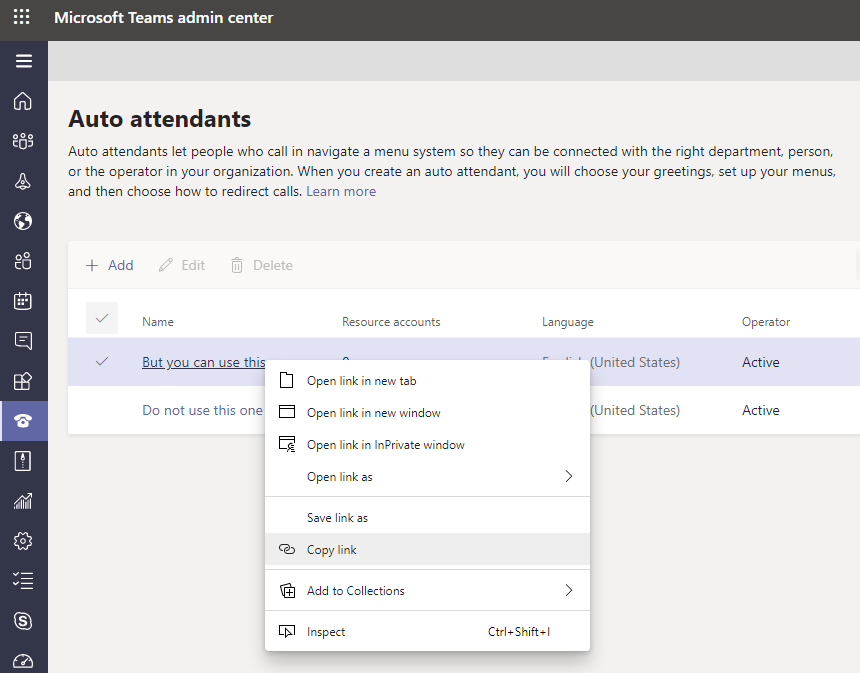
There’s also another way of finding out the Auto Attendant Id. Navigate to
Auto Attendant Teams Admin Center
Hover over the Auto Attendant you are going to use for testing and right-click and copy the link for that
auto attendant:
 Paste that link into a notepad or browser tab (without opening it) like
 The last part of the URL is going to be the Auto Attendant Id.
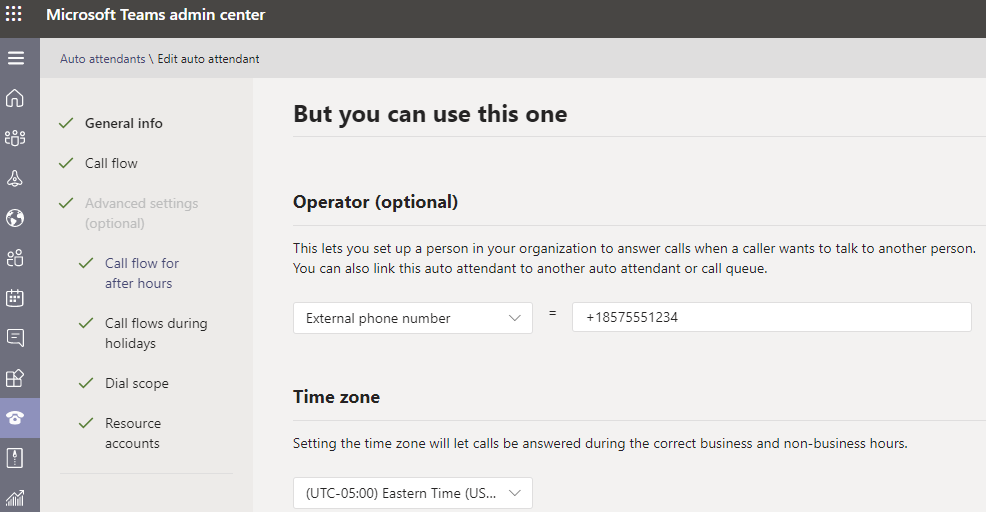
Let’s open this Auto Attendant, to verify what are the current settings for the operator
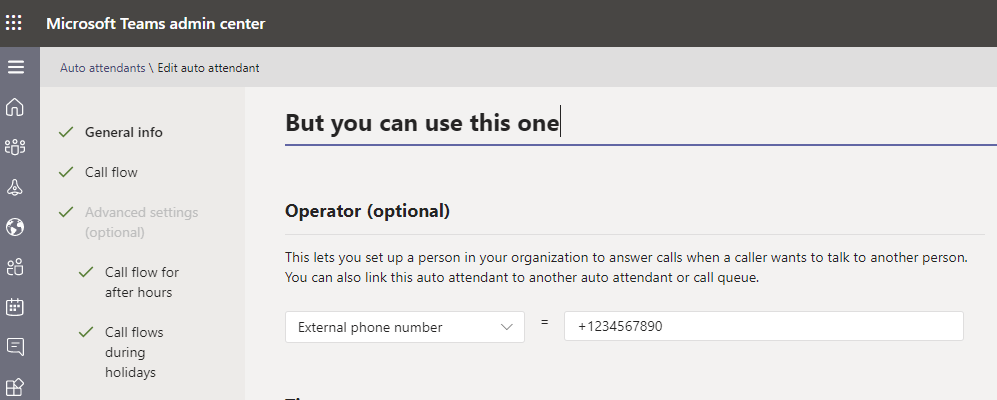
And as you probably noticed, it’s using the default +1234567890 number and there’s a simple
explanation: I’ve just configured this Auto Attendant, leaving pretty much everything at the
defaults.
Now let’s test the Runbook. Open the O365Automate Automation Account -> Runbooks ->
Update-AA-Operator runbook
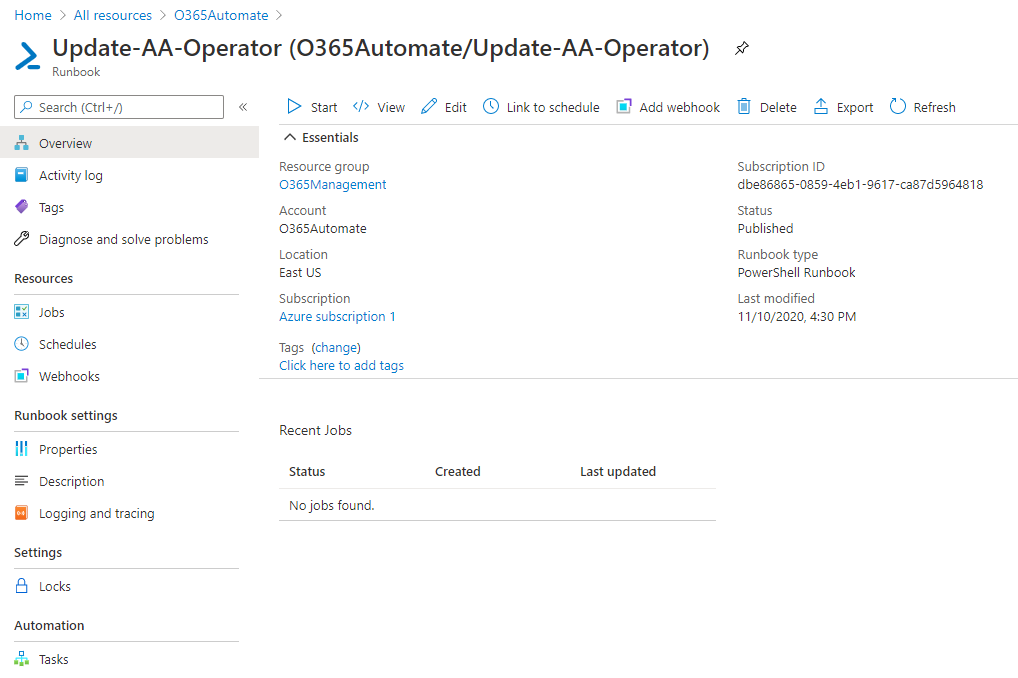
Click on Runbook’s Start link and it is going to ask you two parameters:
PHONE– a phone number to assignAAID– Auto Attendant ID, that we obtained in previous step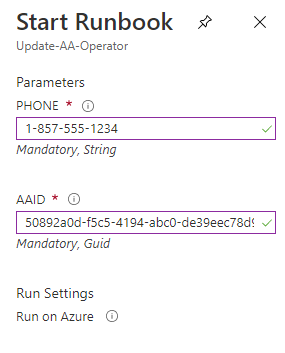
and start the Runbook. It is going to take a few moments to finish running
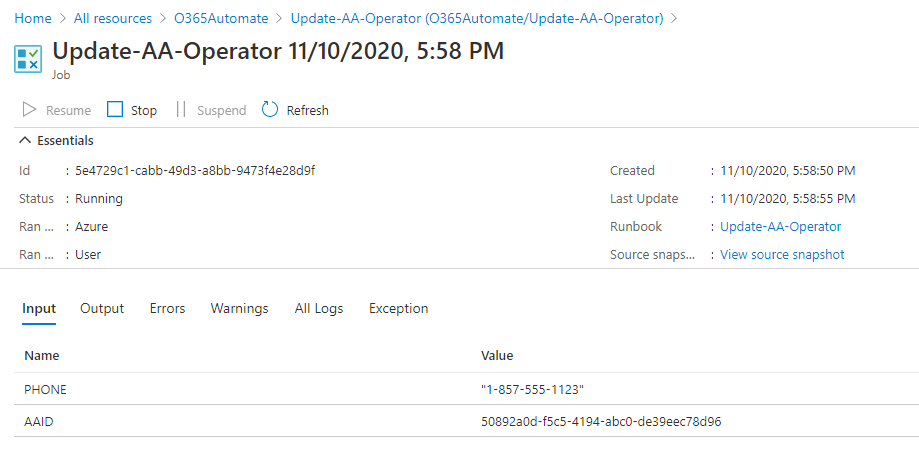
and once it completes, check the Output tab, you should see your Auto Attendant updated
with the new number:

And to double-check, let’s open Auto Attendant in Auto Attendant Teams Admin Center
and confirm whether it was updated correctly:
This concludes the first post of the series, and in the next one we’ll go through the exercise of setting up a Teams Shift for On-Call rotation.